How Can We Help?
Update 01-Apr-2021 – Firmware 2.12
Starting with Firmware 2.12, there is no longer the applicator initialization screen as introduced in 2.08. Instead it will pop out an error message windows if it detected any issue.
Update 01-Feb-2021 – Firmware 2.08
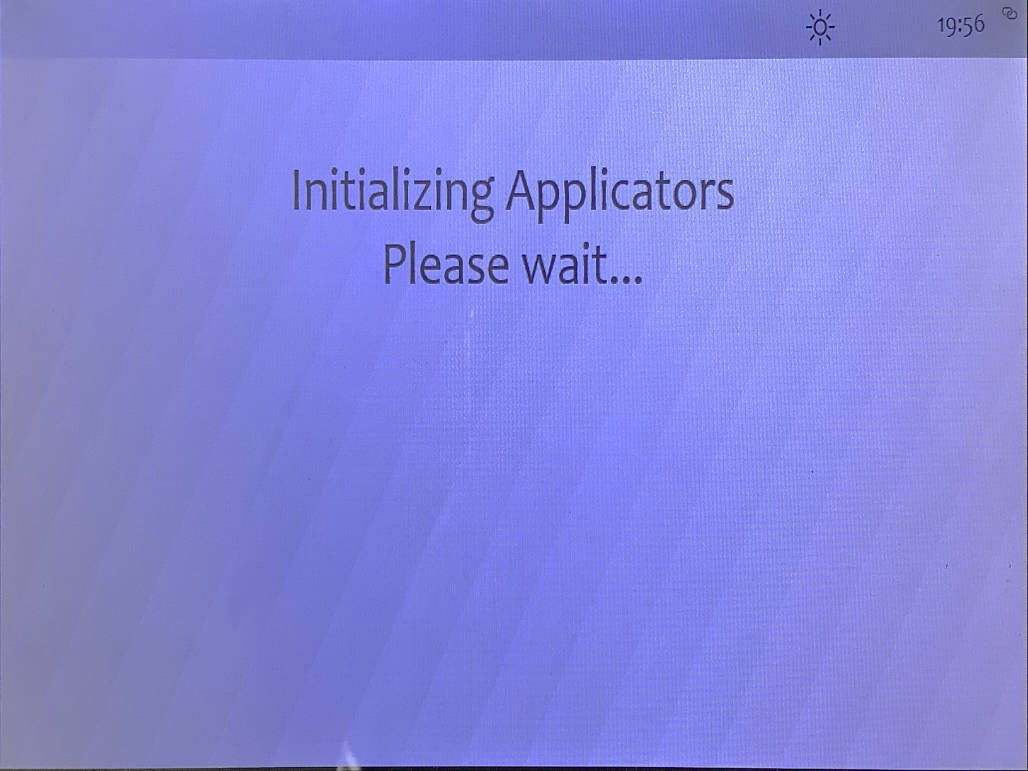
Starting with Firmware 2.08, the applicator detection process is replaced with the applicator initialization screen (see below). Everytime you start up the system or plugin a new applicator, the screen below will pop up – until it successfully recognizes and assigns the port to the applicator.
The below procedure and process are still applicable for 2.08 and below firmware. The only difference is in 2.08, your system may get stuck at the applicator initialization screen if the system fails to assign a port to the applicator. In this case, you can try to follow the steps given below to access the applicator overview menu.
Verifying Applicator Connection Status
Applicable for version Prime version 2.01 and below
To verify if the system actually recognizes the applicator plugged in, go to the advanced menu setting. Tap the time display icon at the top left corner of the screen several times until you see additional tools icon displayed at the top menu bar. Next, tap the toolbox icon to get into the special menu.

Next, tap on the Applicator Overview Option

At the applicator overview screen, you should be able to check the entry of each Exagon applicator connected to the connector box. You can slide up the screen to scroll-down to see more entries. There are 2 stages of applicator detection described below.
Stage 1 Detection: Identification
Immediately after you plug in your applicator, the system will try to determine the identification of the applicators, like applicator type (Spot, Mat, Pad, etc.), Serial Number, etc. The screen should refresh automatically and display a block of details similar to below.

If you don’t see the applicator entry, it means the system has not registered the applicator correctly. Plug out and re-plug in the applicator to allow the system to automatically detect the unit. If nothing is shown consistently, try another port on the connector.
Stage 2 Detection: Port Assignment
In stage 2, the system will need to assign a port to the applicator so the iMRS Prime software can communicate with the applicator correctly. This usually happens when you see the second USB icon flash sign on top of the display panel. This process may takes 3-10 seconds depending on the state of the system.
What this process does is to assign an Output Port – Port 1, 2 or 3. By default immediately after plug in, the output assignment is no, meaning no port is assigned.
If you are facing with error messages related to the applicator, there is a good chance that the port has not been assigned. On potential cause is you start the session too soon, before the system is able to complete the stage 2 of ports assignment.

Starting from firmware version 2.0x, the applicator detection and assignment process takes longer due to more handshaking information are communicated between the connector box and the applicators – to ensure better stability during the operation.
Starting 2.12, the applicator overview will also shows you a slightly different status message for applicator. It will show a more specific error message like ImpluseDetectionFailed, instead of just NO. If the applicator is ok, then it will show READY.
